We were planning to leave for Heavenly Acres Saturday morning/early afternoon, and we were just running out of time. We decided to square away everything that morning, our schedules were just too tight and Saturday was the only time it was going to work out.
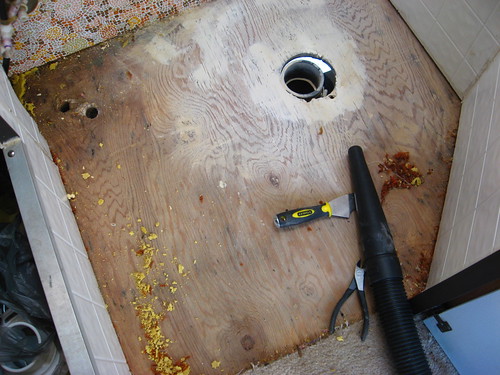
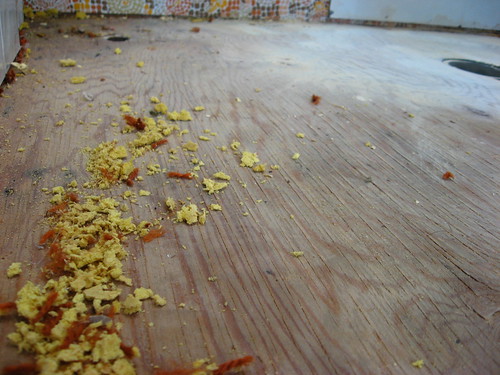
We woke up early and started sanding the wood filler we put in the old holes in the floor. We pulled out the remainder of the random hunks of old carpet that were jammed in the cracks of the floor between the plumbing and walls, and gave it all a good vacuuming.
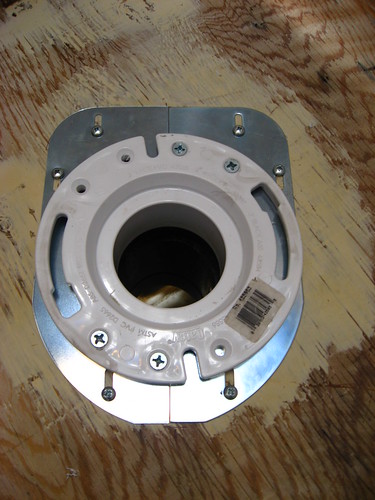
We laid down the metal brace plate we wanted to have to make the floor/toilet less wobbly and got it set up for installation.
We mounted the brace plate and then placed the collar over it, so everything would be lined up and predrilled for mounting over the rubber floor.
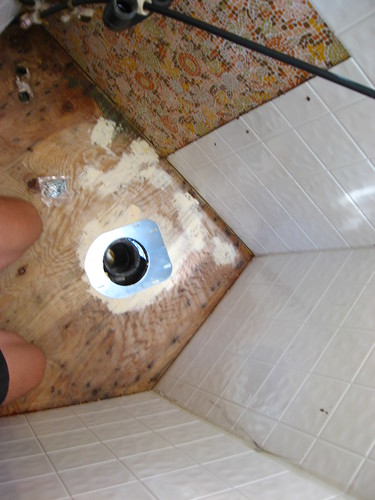
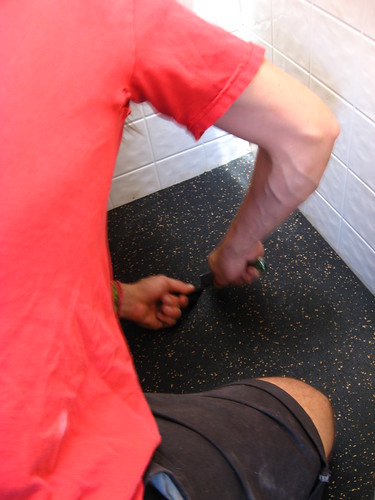
We laid down the rubber floor we had precut and sliced an exploratory hole where we could feel the center of the brace plate.
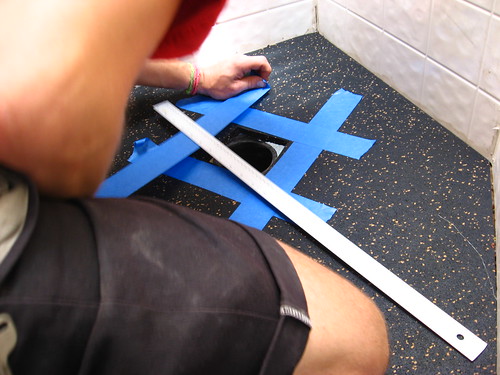
Then, measuring how much floor would be covered by the toilet base, we measured and marked a small square where the pipes would connect throught the floor. Then we cut it out!
We gave it a test run and checked to make sure everything was lining up.
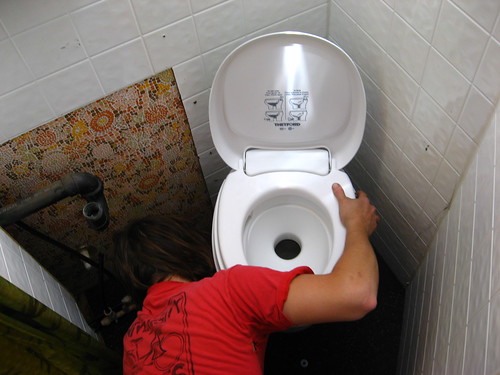
Then we mounted the toilet for real. We mounted the collar on top of the rubber floor for a better seal, then the toilet bolted to the collar. We plumbed it back to the main line with the new fittings we bought from Pleasant's (we bought fittings that had a ball valve for easy cut off, that way if it didn't work out we at least could stop water from blasting in!) and we were done!
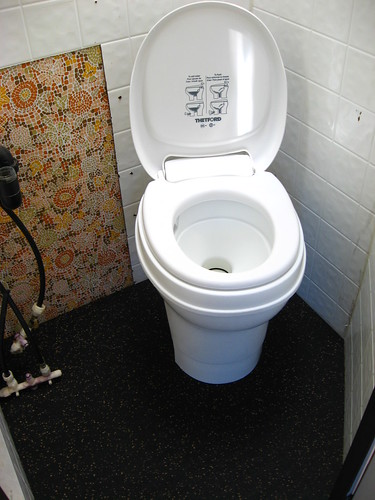
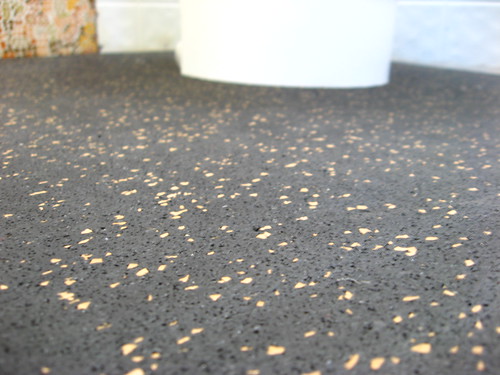
Our awesome new rubber floor was looking great, the toilet felt stiff and not shaky, and we still had three hours to pack the RV before we left for Stanardsville! Rad!
No comments:
Post a Comment